When I bought this car, I noticed that the SC rear bumper did not have the factory support piece in the center like it should, and it had a bit of sag to it, because of this.
Recently, I acquired a support piece from a member here, and when I installed it, I did not like the fact that it only supports the center of the lower section of the bumper, allowing the rest of it to continue to sag.
The SC bumper includes two mounts on either side of the area where the center support attaches. It is as if Ford had intended to make some additional bracketry to support the entire bumper, but for whatever reason did not do so, and here we are 20 years later, gravity has taken it's toll.
So I went out and purchased some aluminum. Using the factory support as a template, I cut four sections of aluminum, roughly seven inches long, and made a 90 degree bend in each one, roughly matching the factory bend location. I drilled a hole in each end of my new aluminum brackets, matching the factory holes as close as possible.
Initially, my plan was to utilize the same holes in the body of the car that the factory LX bumper attached to, however, I realized that the only holes in the body that actually line up with the holes in the SC bumper, are the center holes where the factory support piece attaches. The additional holes in the SC bumper do not line up with the holes in the body of the car. I could have made new brackets to angle over to existing holes, but this would have required substantially more work to get everything lined up evenly, and I knew that with the new brackets I had made to match the factory part, I would just have to drill new holes.
So I drilled one hole, and installed the passenger side outer bracket. The metal is hard to drill through, and it doesn't help that my drill battery was weak, and the bits I am using are mostly pretty dull.
So the drill is charging for the night, and I might go buy some new sharp bits tomorrow, so the other three holes are easy to drill.
Photos so far.
the brackets I made from aluminum:
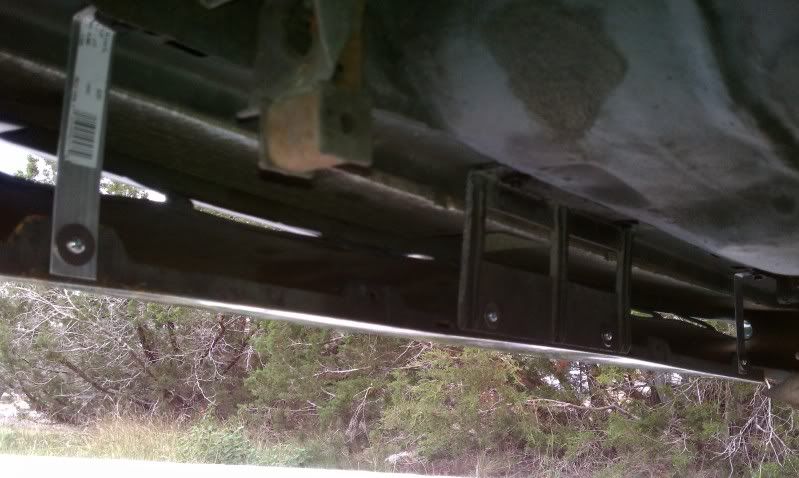
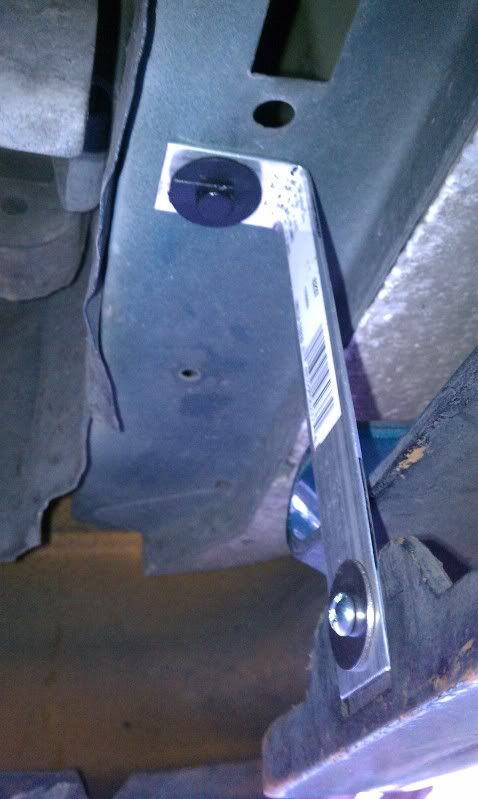
the custom bracket installed:
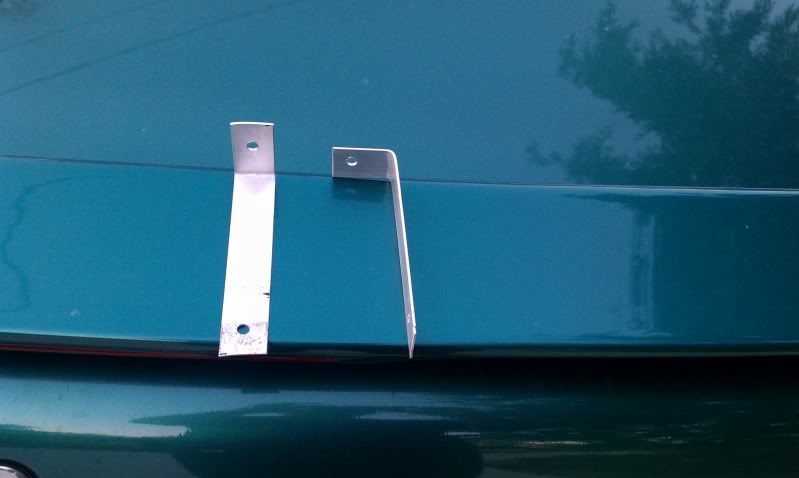
View of the custom bracket with the factory bracket. As you can see, I used bolts, nuts, washers to attach the factory, as well as my custom brackets to the bumper cover, due to the fact that the plastic push pins did not want to hold it together very well in that area. I think I could have gone a bit shorter on the outer brackets.
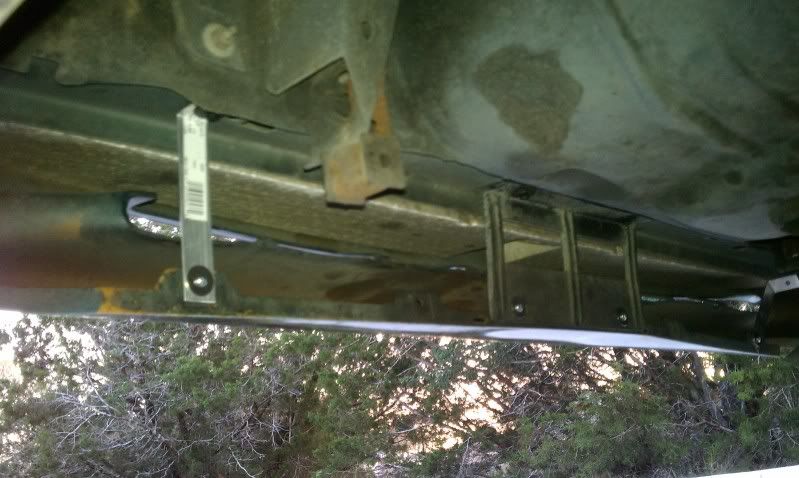
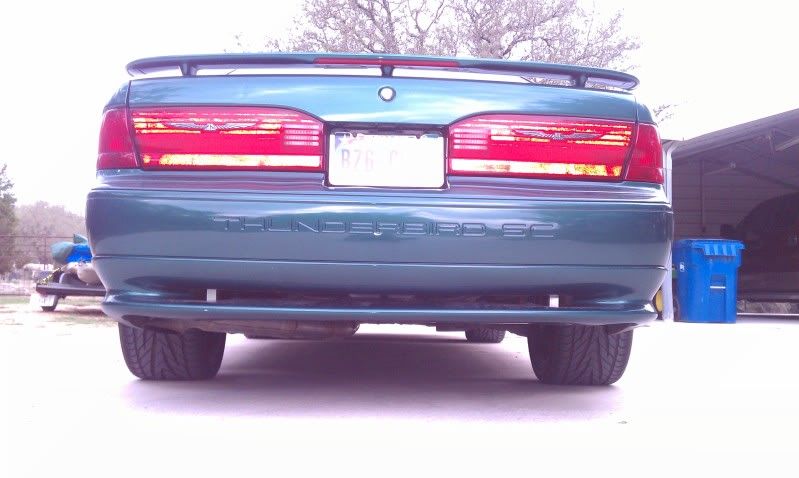
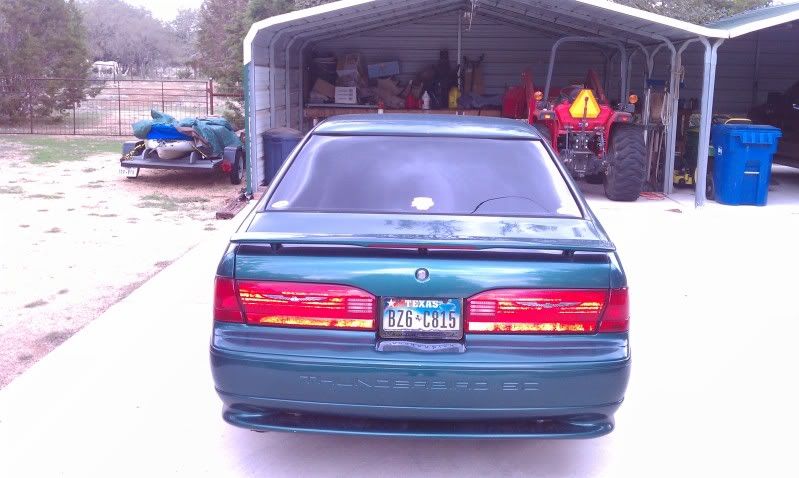
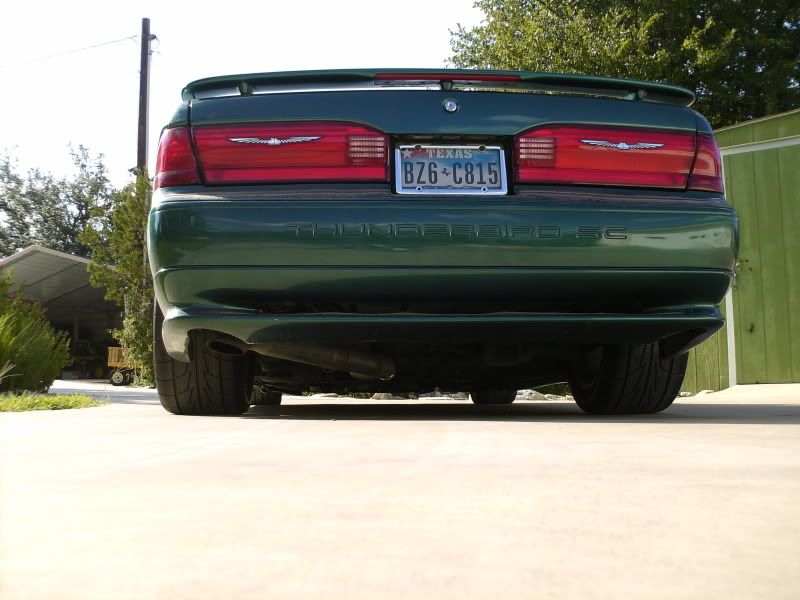
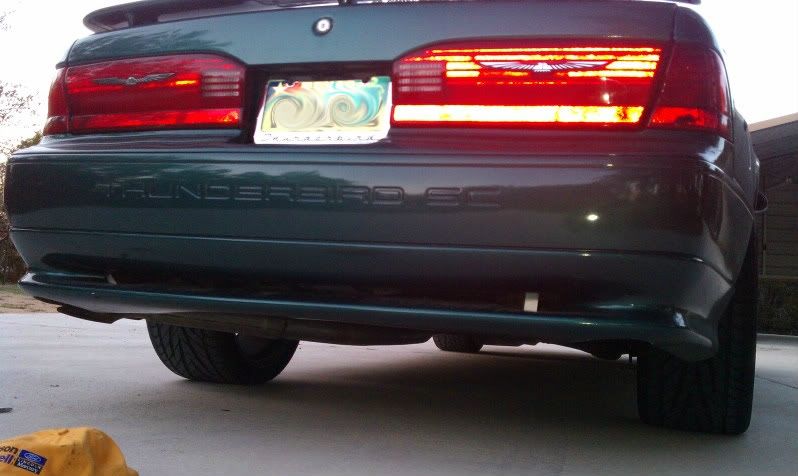
photo from behind the car, you can see the sagging drivers side of the bumper, while the center and passenger side are nice and tight.
Recently, I acquired a support piece from a member here, and when I installed it, I did not like the fact that it only supports the center of the lower section of the bumper, allowing the rest of it to continue to sag.
The SC bumper includes two mounts on either side of the area where the center support attaches. It is as if Ford had intended to make some additional bracketry to support the entire bumper, but for whatever reason did not do so, and here we are 20 years later, gravity has taken it's toll.
So I went out and purchased some aluminum. Using the factory support as a template, I cut four sections of aluminum, roughly seven inches long, and made a 90 degree bend in each one, roughly matching the factory bend location. I drilled a hole in each end of my new aluminum brackets, matching the factory holes as close as possible.
Initially, my plan was to utilize the same holes in the body of the car that the factory LX bumper attached to, however, I realized that the only holes in the body that actually line up with the holes in the SC bumper, are the center holes where the factory support piece attaches. The additional holes in the SC bumper do not line up with the holes in the body of the car. I could have made new brackets to angle over to existing holes, but this would have required substantially more work to get everything lined up evenly, and I knew that with the new brackets I had made to match the factory part, I would just have to drill new holes.
So I drilled one hole, and installed the passenger side outer bracket. The metal is hard to drill through, and it doesn't help that my drill battery was weak, and the bits I am using are mostly pretty dull.
So the drill is charging for the night, and I might go buy some new sharp bits tomorrow, so the other three holes are easy to drill.
Photos so far.
the brackets I made from aluminum:
the custom bracket installed:
View of the custom bracket with the factory bracket. As you can see, I used bolts, nuts, washers to attach the factory, as well as my custom brackets to the bumper cover, due to the fact that the plastic push pins did not want to hold it together very well in that area. I think I could have gone a bit shorter on the outer brackets.
photo from behind the car, you can see the sagging drivers side of the bumper, while the center and passenger side are nice and tight.
 I will paint the brackets when I do the final install of the other two. For now, they're just gonna be glaringly obvious.....photos ....