
XxSlowpokexX
Registered User
Are those 17*9?
.. it's been a learning experience to say the least.
- Dan

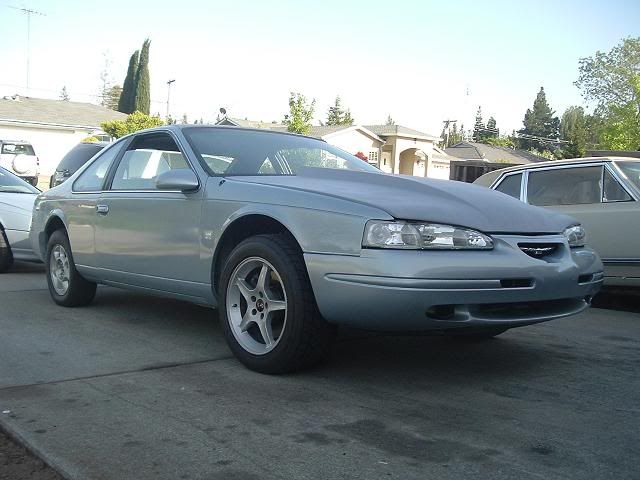
I wrecked mine tonight. I was on my way home with my kids and a big dog appeared in front of the car. Big enough that it smashed my license plate, crushed the pass side head light, header panel, and put a rip in the hood over the light.
Can you show me how you added your own edge to your hood to make it match your gap? I want to do the same.
SWS
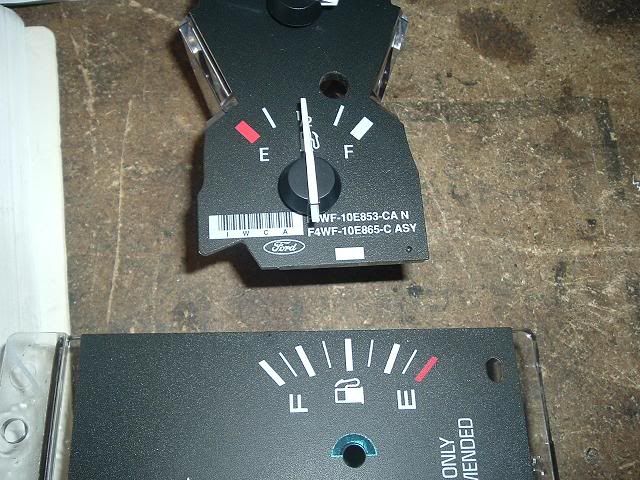
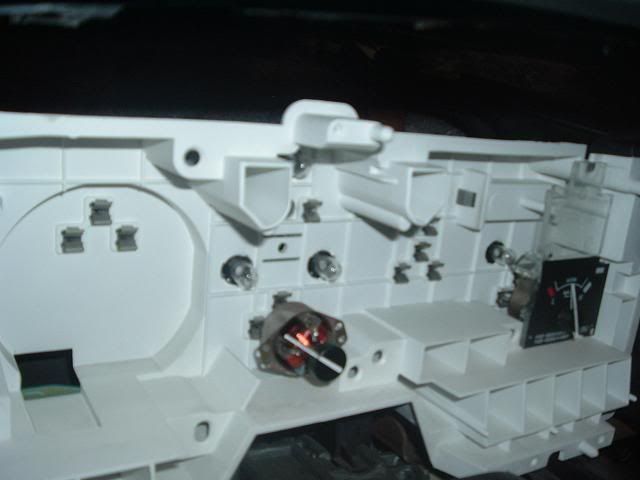
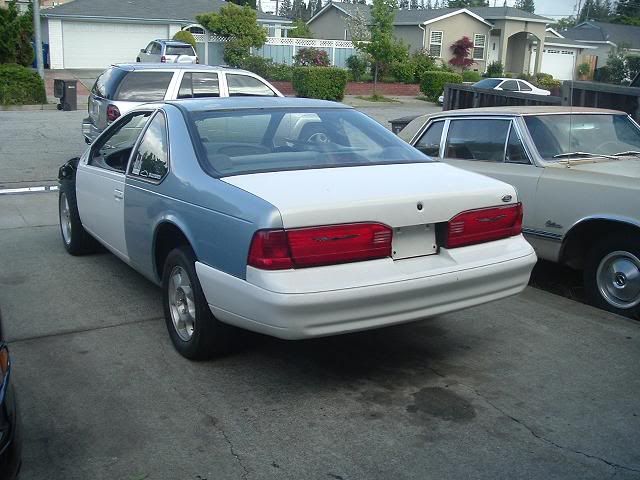
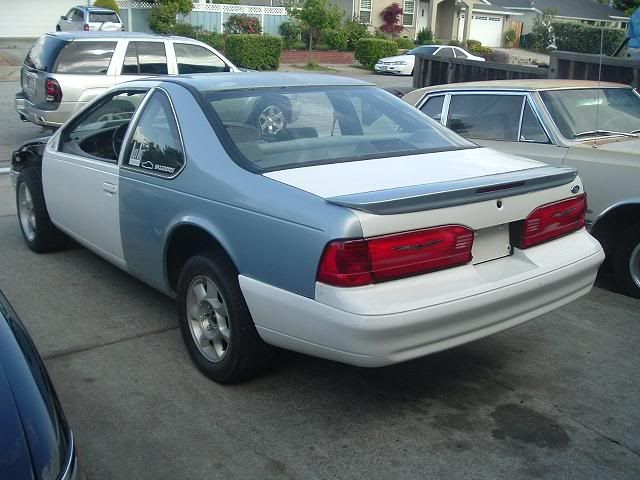
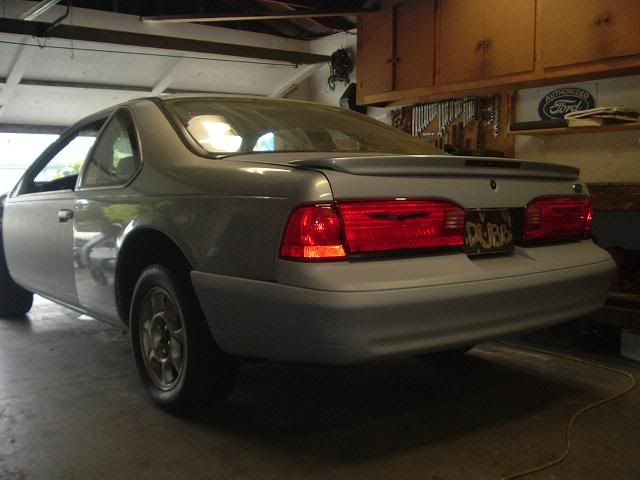 Then I re-wired the trunk lid harnes to the Mark .. decided to use the Tbird light in the trunklid instead of the light in the trunk bay like the Mark had. The Spoiler wiring was added also for the rear mount light ( which was removed from my decklid .. now I have a hole with a spare piece of carpet inside ) .. I just need to drill a hole to run the spoiler harness through the trunk. Also sprayed the rear end with primer. No more white panels on the car.
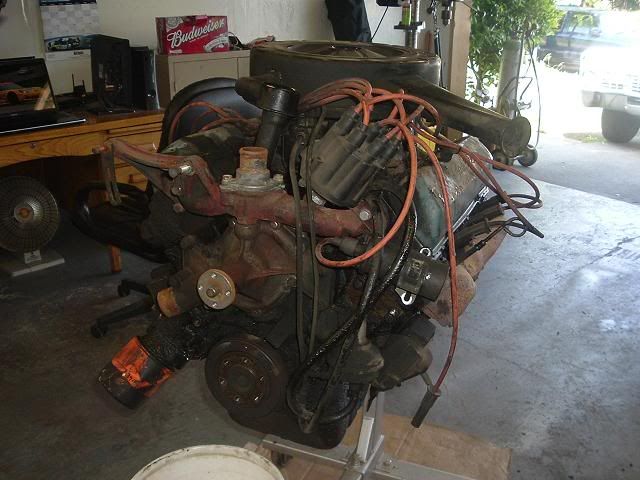
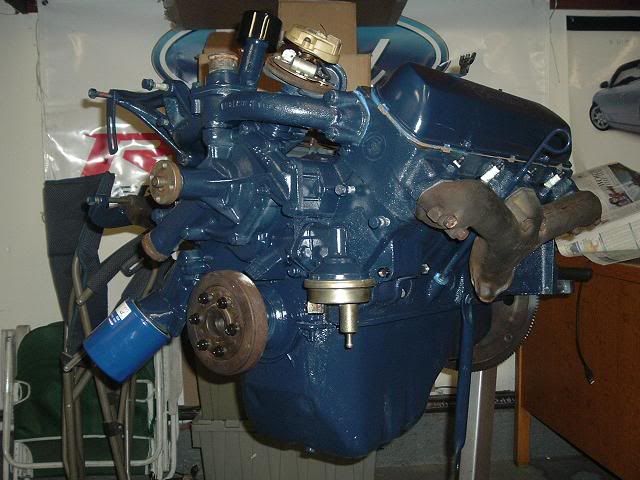
Dan, what a labor of love. This is sure a project you do because you want to. Have you reached 10,000 man hours yet? A great way to get a very unique, interesting ride. Almost as fun as finding the correct hi-temp paint for a Caddy eng.
-Dave
Looking great! On a side note, I'm not a fan of hood pins, but since the hood has come off once already I would be worried about the two layers of the hood separating. If they are still bonded good, then you're fine, but if not it would suck.
Mike
..not to dredge up an old thread...but was this car ever completed?